

Ciao a tutti! Oggi su Simon Says Stamp Monday Challenge Blog per la nostra sfida settimanale un tema bellissimo e facilissimo: USE YOUR FAVORITE TECHNIQUE! Perciò siete praticamente liberi di fare quello che vi piace di più! Aspettiamo impazioneti i vostri capolavori!
Hi all and welcome to another week on the Simon Says Stamp Monday Challenge
Thank you for joining us for the Birthday Challenge and we hope you will all join us again this week too.
This week we are asking you to use:
YOUR FAVORITE TECHNIQUE
Please mention in your write up what technique you chose to use.


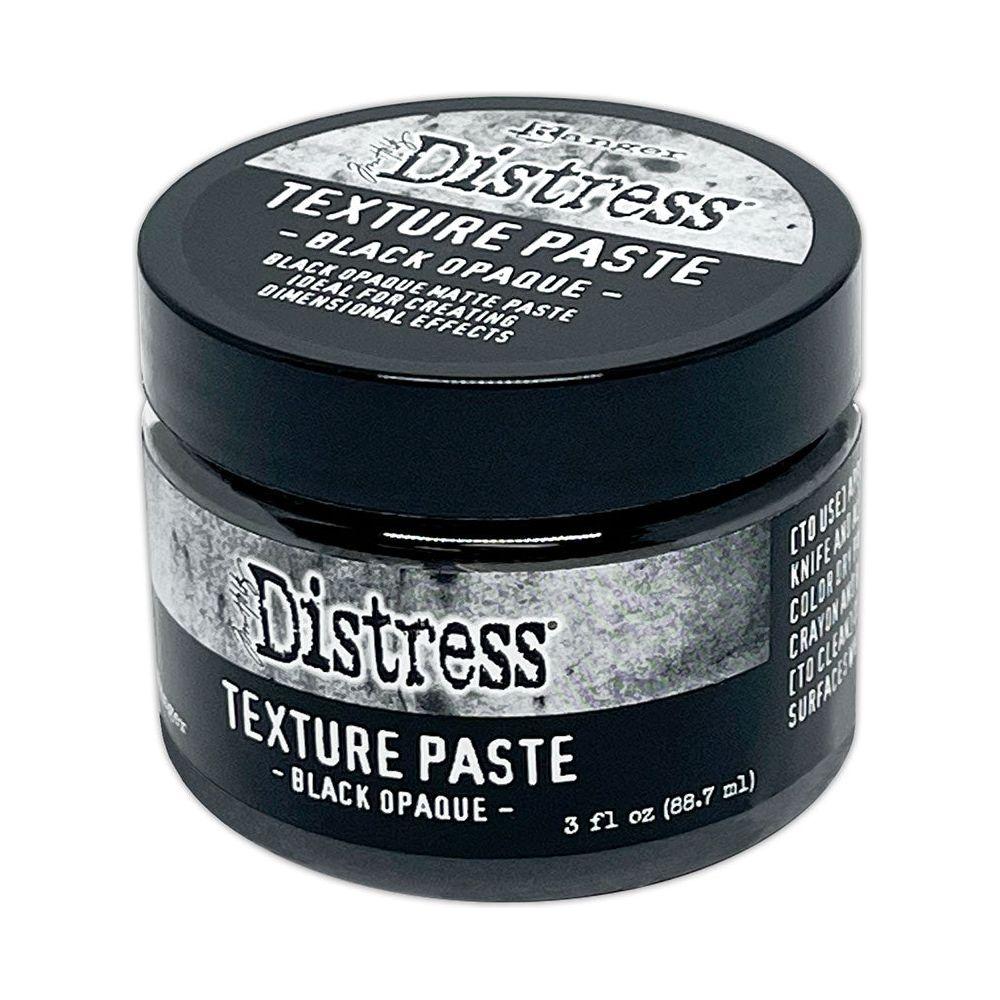
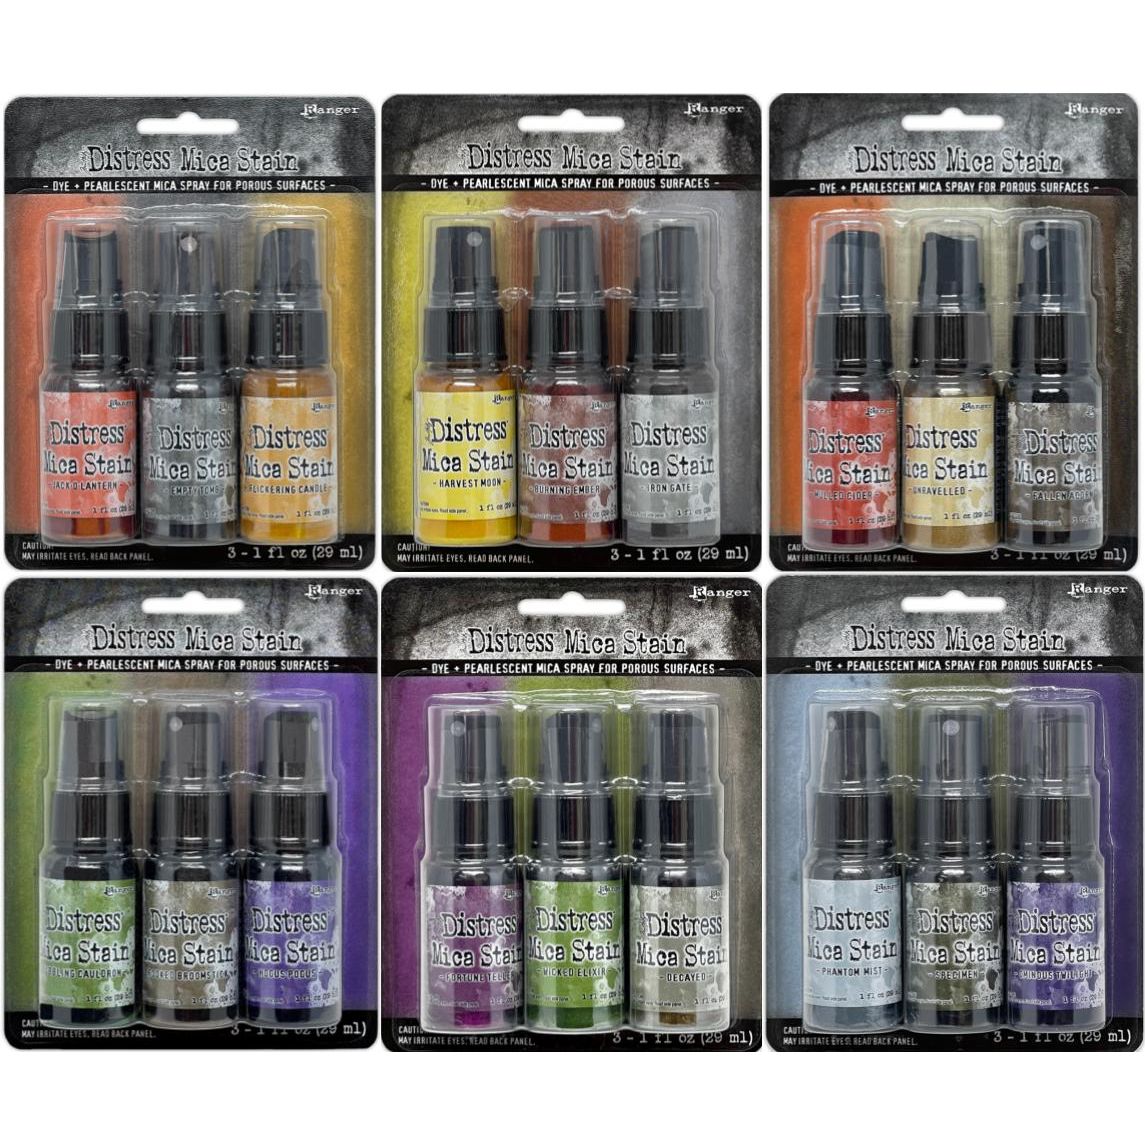
Tema bellissimo e facilissimo per tutti dal momento che l'unica cosa da fare è divertirsi con la tecnica che più amiamo! Io ho scelto la tecica del Mixed Media se così posso chiamarla, mi piace molto mischiare prodotti diversi e creare sfondi con paste, stencil e colori! Non ho potuto resistere alle nuove paste di Tim Holtz, in particolare alla Black paste che mischiata ai nuovi colori di Mica stain crea effetti bellissimi. Eccovi un mini tutorial in punti!
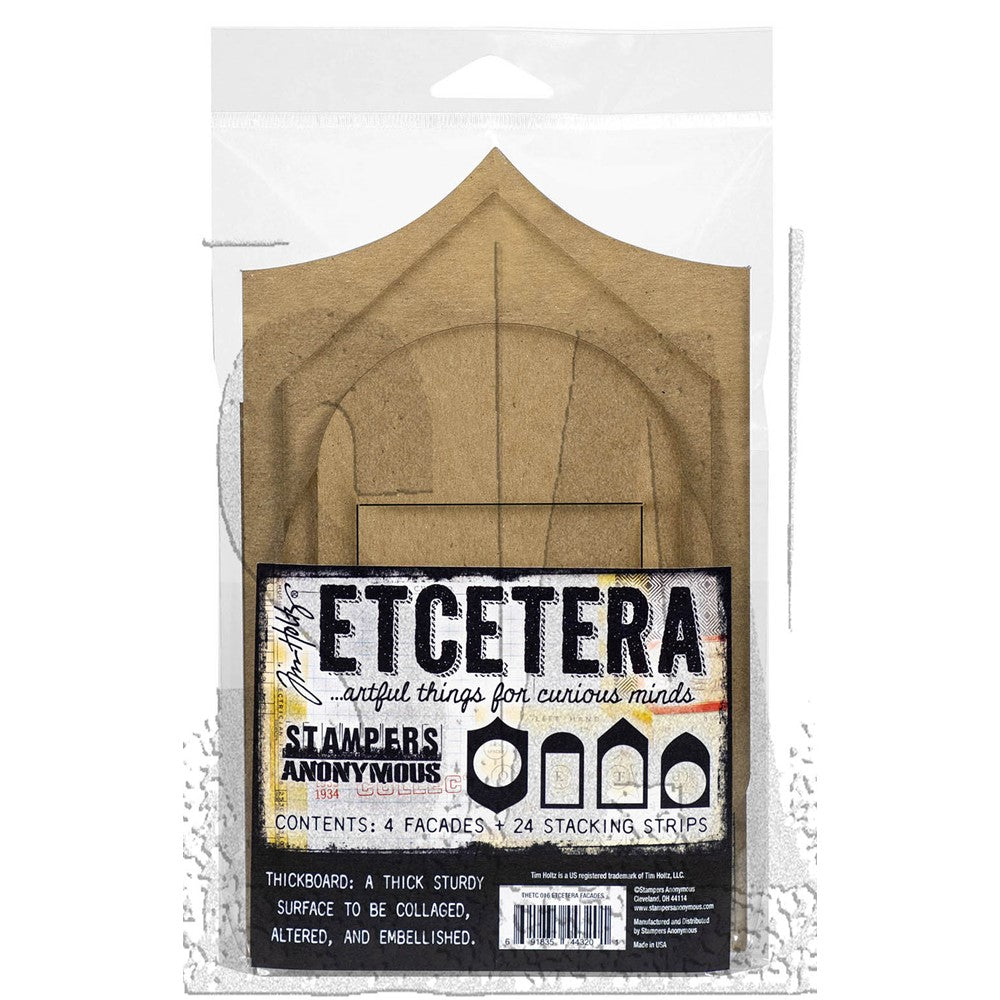
1 Ho ricoperto una Etcetera Tag Mini con un foglio dal pack Backdrops Vol 2 di Idea-ology e disgnato sopra con una matita la sagoma della cornice che ho sovrapposto ( Etcetera Facades). Ho usato lo stencil Crossed con la pasta Black e, dopo che la pasta si è ben asciugata, ho spruzzato un mix dei nuovi Mica Stain: Specimen e Phantom Mist.
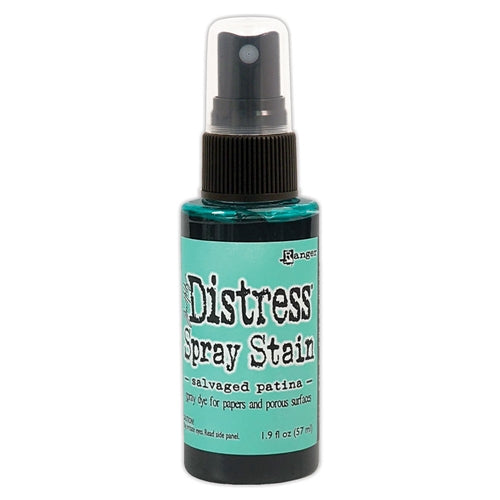
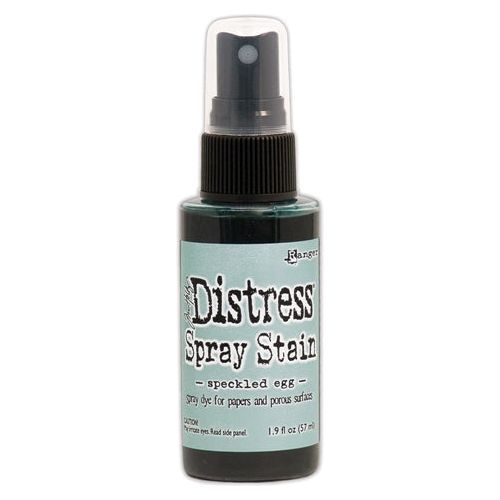
2 Per ricoprire la cornice ho utilizzato un foglio di Heavystock colorandolo con vari Distress Spray Stain, Speckled Egg, un tocco di Salvaged Patina. Ho inchiostrato con Distress Ink Pad Walnut Stain la nuova fustella Sizzix 3D Cracked.Potete scegliere voi il lato su cui inchiostrare, tenete conto che se inchiostrate dal lato delle crepe come ho fatto io, risulterà più visibile il colore del vostro sfondo. Dopo questo passaggio ho spruzzato qualche goccia d'acqua in modo che il colore Walnut Stain uscisse un pochino dalle crepe formando quasi delle macchie e infine ho aggiunto qualche goccia di Unraveled Mica Stain. Ho tagliato e ricoperto la cornice.
3 Ho preparato la luna e le nuvole con Heavystock e i Nuovi Mica Stain, mischiandoli e aggiungendo anche qualche spruzzo di Decayed e di Scattered Straw Distress Spray Stain sulla luna. Sulle nuvole invece ho usato Phantom Mist, Fallen Acorn, Unravelled e una goccia di Frosted Juniper.
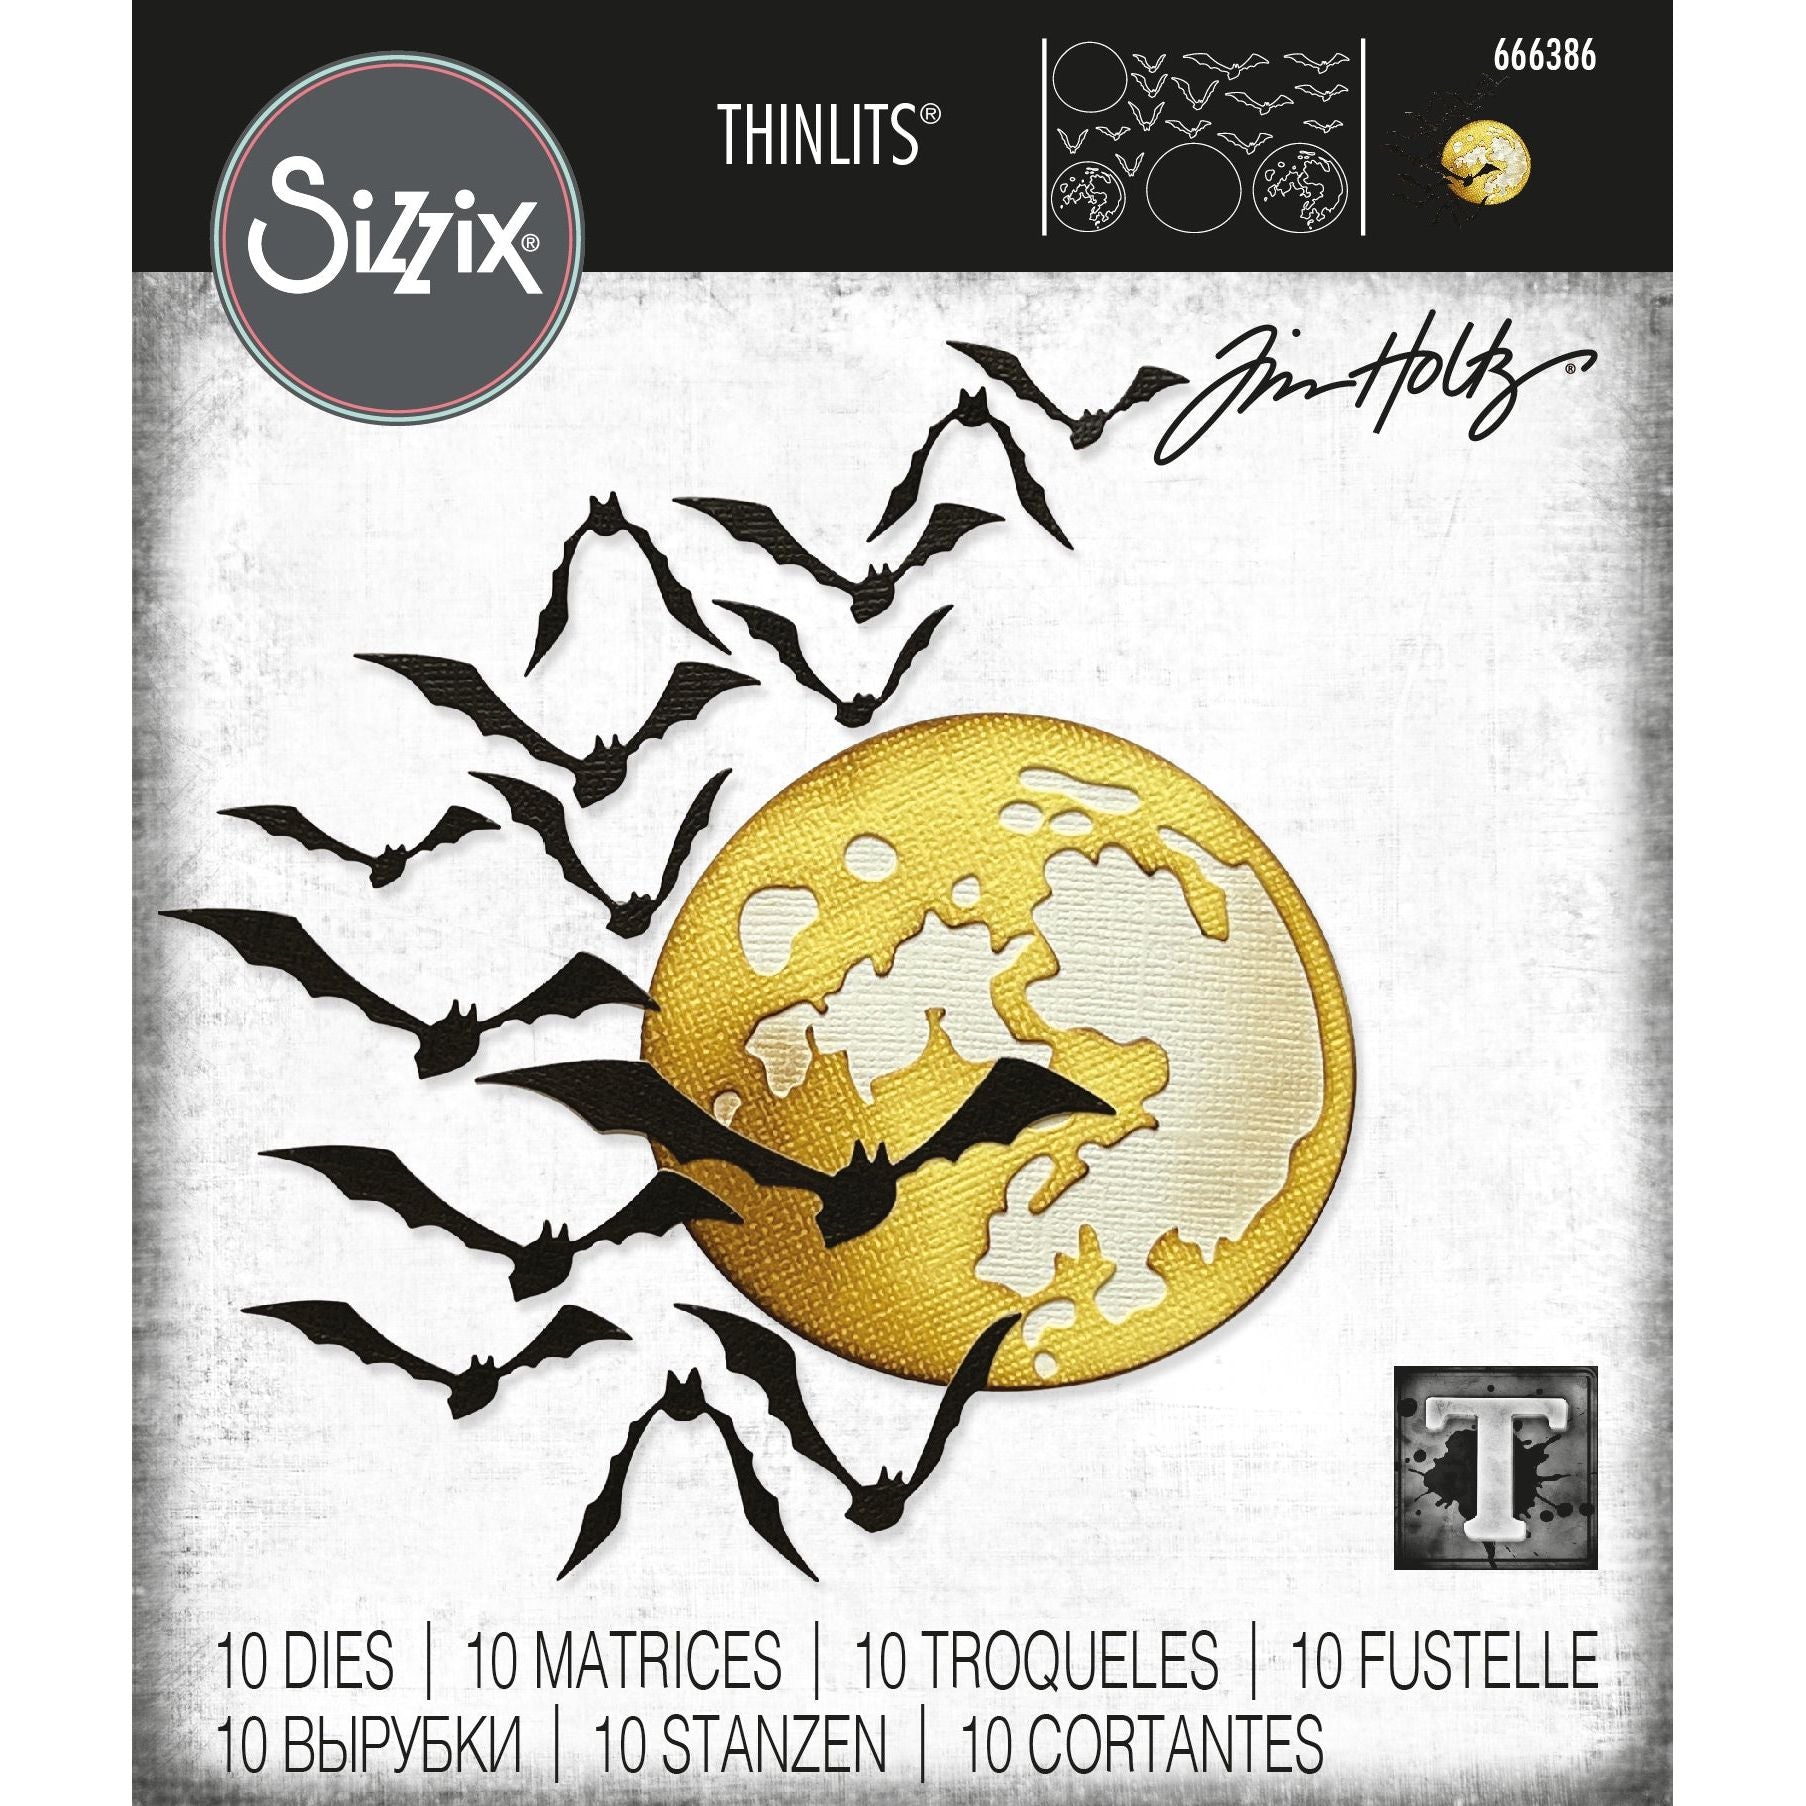
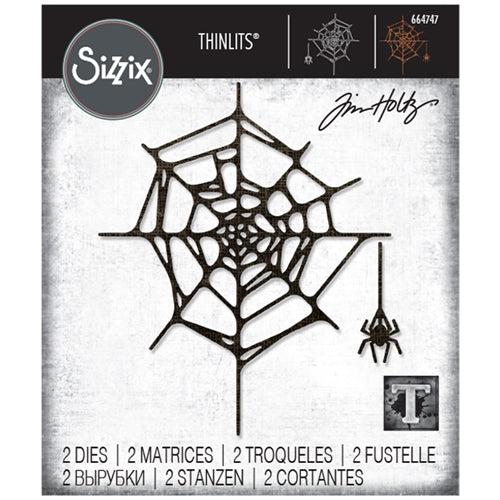
4 Ho tagliato con la fustella Spider Web 664747 un cartoncino Heavystock colorato con Walnut Stain e l'ho posizionato sotto al foro della cronice. Utilizzando nel retro della cornice i listelli del Pack Facades ho creato uno spessore e sopra ho aggiunto una Paper Doll, la scritta e le ali, tutte cose della nuova collezione Halloween Ida-ology.
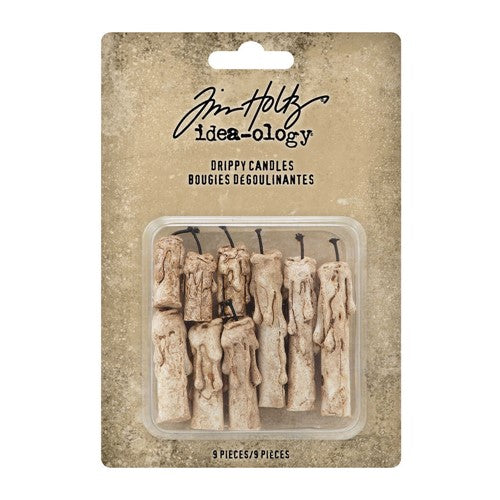
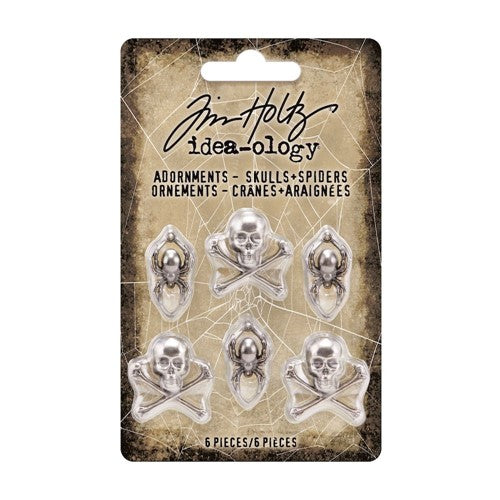
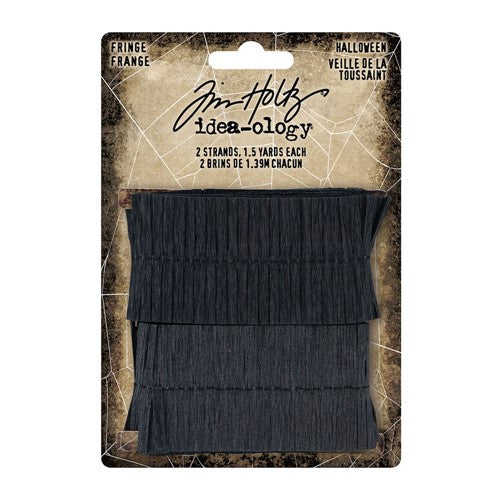
5 Per completare ho colorato un pochino di Mummy Cloth e un pezzetto di Fringe con i Mica Stains. Ai lati ho messo due candele e al centro un teschio per creare una atmosfera davvero creepy.
6 Ultimo particolare: ho aggiunto gli occhiali al nostro scienziato pazzo, sapete da dove li ho presi? Dalla vecchia fustella di Tim Holtz Jolly St. Nick 664198 che ora è fuori produzione, ma per me che come sapete sono una collezionista non è un problema visto che le ho quasi tutte!
Spero che abbiate gradito il tutorial e che la mia tag di Halloween vi sia picaiuta!
A beautiful and easy theme for everyone since the only thing to do is to have fun with the technique we love most! I chose the Mixed Media technique if I can call it that, I really like to mix different products and create backgrounds with pastes, stencils and colors! I couldn't resist Tim Holtz's new pastes, especially the Black paste that mixed with Mica Stain's new colors to create beautiful effects. Here is a mini dot tutorial for you!
1 I covered an Etcetera Tag Mini with a sheet from the Idea-ology Backdrops Vol 2 and drew over it with a pencil the outline of the frame I overlaid ( Etcetera Facades). I used the Crossed stencil with Black paste and, after the paste dried well, sprayed on a mix of the new Mica Stains: Specimen and Phantom Mist.
2 To cover the frame I used a sheet of Heavystock coloring it with various Distress Spray Stain, Speckled Egg, and a touch of Salvaged Patina. I inked with Distress Ink Pad Walnut Stain on the new Sizzix 3D Cracked die. You can choose which side you ink on, keep in mind that if you ink on the crack side as I did, it will show up more of your background color. After this step I sprayed a few drops of water so that the Walnut Stain would come out of the cracks a little bit, almost forming spots, and finally I added a few drops of Unravelled Mica Stain. I cut and covered the frame.
3 I prepared the moon and clouds with Heavystock and the New Mica Stains, mixing them and also adding a few sprays of Decayed and Scattered Straw Distress Spray Stain on the moon. On the clouds, I used Phantom Mist, Fallen Acorn, Unravelled, and a drop of Frosted Juniper (a Christmas Mica Stain from past collections).
4 Using the Spider Web 664747 die, I cut a Heavystock cardboard colored with Walnut Stain and positioned it under the hole in the frame. Using the strips from the Pack Facades on the back of the frame, I created a thickness as you can see in the photos. Once the frame was positioned with glue, I added a Paper Doll, the writing and the wings, all things from the new Ida-ology Halloween collection.
5 To complete I colored a little bit of Mummy Cloth and a piece of Fringe with Mica Stains. On the sides I put two candles and a skull in the center to create a really creepy atmosphere.
6 Last detail: I added glasses to our mad scientist, do you know where I got them from? From Tim Holtz's old die Jolly St. Nick 664198 which is now discontinued,as you know but... I'm a collector and occasionally like to mix the old with the new!
I hope you enjoyed the tutorial and you love my Halloween tag!
So now it’s YOUR turn to get out your inks, paints and all things arty and start creating! We are looking forward to seeing what you make!


Ci sono favolosi Giveaways e ispirazioni ogni giorno dai nostri favolosi designer su Simon Says Stamp Blog, se non l'avete ancora fatto iscrivetevi via e-mail per essere sempre aggiornati.
Avete tempo fino a Lunedi 08:00 ora Ohio. 13:00 UK tempo, 14:00 CET per postare i vostri lavori!
Saranno scelti alcuni progetti come Designer Spotlight , essi riceveranno uno special badge da aggiungere al loro blog! Potete leggere tutte le regole per partecipare alla sfida sul nostro blog nella side-bar!
There are fabulous Give Aways and inspiration from fabulous designers on a daily basis over on the Simon Says Stamp Blog , if you haven’t subscribed by email you may want to so you don’t miss out
You have until Monday 8am Ohio time. 1pm UK time, 2 pm CET to join in
We will also be choosing 3 of our entries to put in the spotlight – a special honor where we talk about why we loved that entry in particular and award a special badge too! For the full rules, read the “challenge rules” posted in the side-bar here on our blog.

Se volete vedere i vinictori delle sfide o le sfide precedenti potete cliccare nel rettangolo giallo, simile a questo sopra, in fondo alla pagina del Blog di Simon Says Stamp Monday Challenge.
Vi ricordiamo di leggere le regole nella barra laterale del Blog Simon Says Stamp Monday Challenge.
Abbiamo notato da qualche tempo che alcuni progetti che vengono inseriti per partecipare sono stati pubblicati alcune settimane prima per cui seppur attinenti con il tema non possono essere decretati vincitori. I progetti che inserite per partecipare devono essere appena pubblicati. Grazie per la vostra attenzione.
Please note that all previous challenges and winners posts can be accessed by clicking on the button at the bottom of this page
Please read the challenge rules on the sidebar. It has come to our attention that some are entering projects that were posted weeks ago. While they may follow the theme they are not eligible to win the voucher. All creations must be newly published. Thank You
Grazie per essere passati, ci vediamo qui presto!
Thanks for stopping by, see you soon here!
Barbara
 |  |  |  |  |
 |  |  |  |  |
 |  |  |  | |
 |  |  |  |  |
 |  |  |  |  |

Nessun commento:
Posta un commento